Garage Phase 2
At the end of the summer I transitioned from house projects to garage projects. I couldn’t help but think ahead to the coming winter and enhancing the space used for storage of the Mustangs. Ever since I had the 2 car detached garage built in 2015, I have wanted it to be a decently warm place to store the cars. With it being not insulated or otherwise finished inside, it held no heat and pretty much maintained the same temperature as that outside.
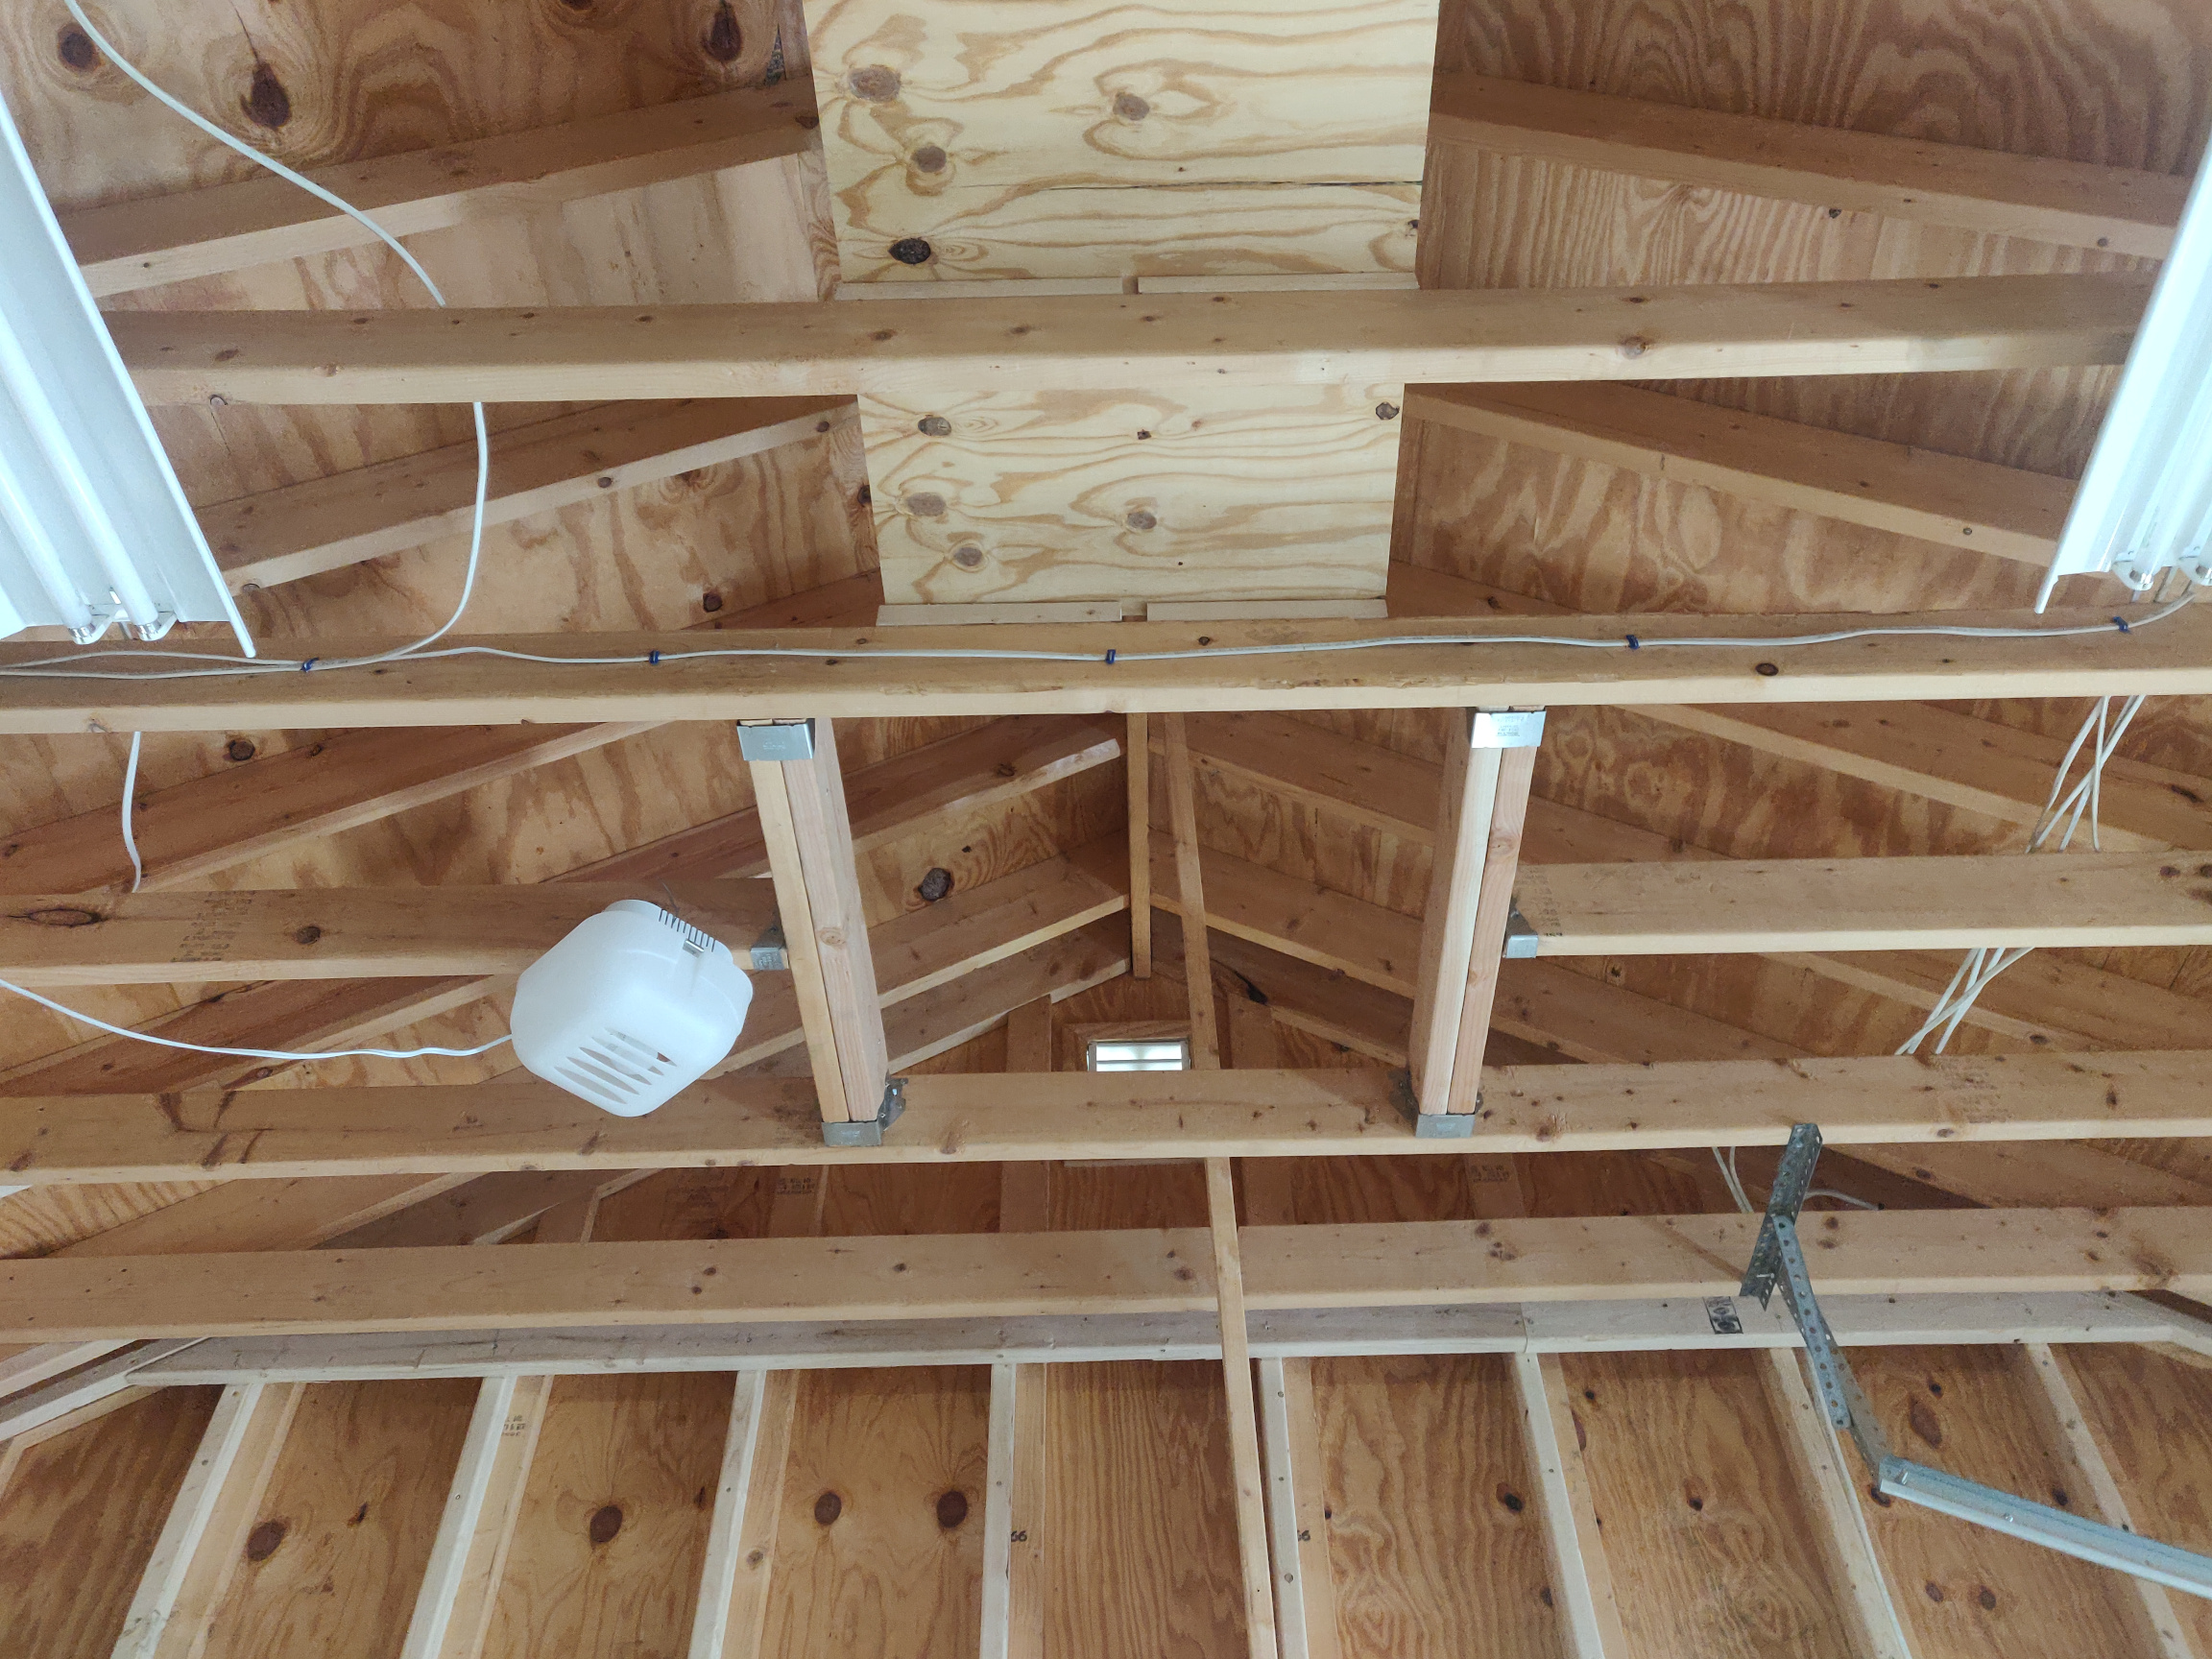
The walls are 2×4 construction and the sloped part of the ceiling is 2×8. In order to increase the thickness of the insulation I could use, I added ripped 2×4 to each rafter to get effectively a 2×10.
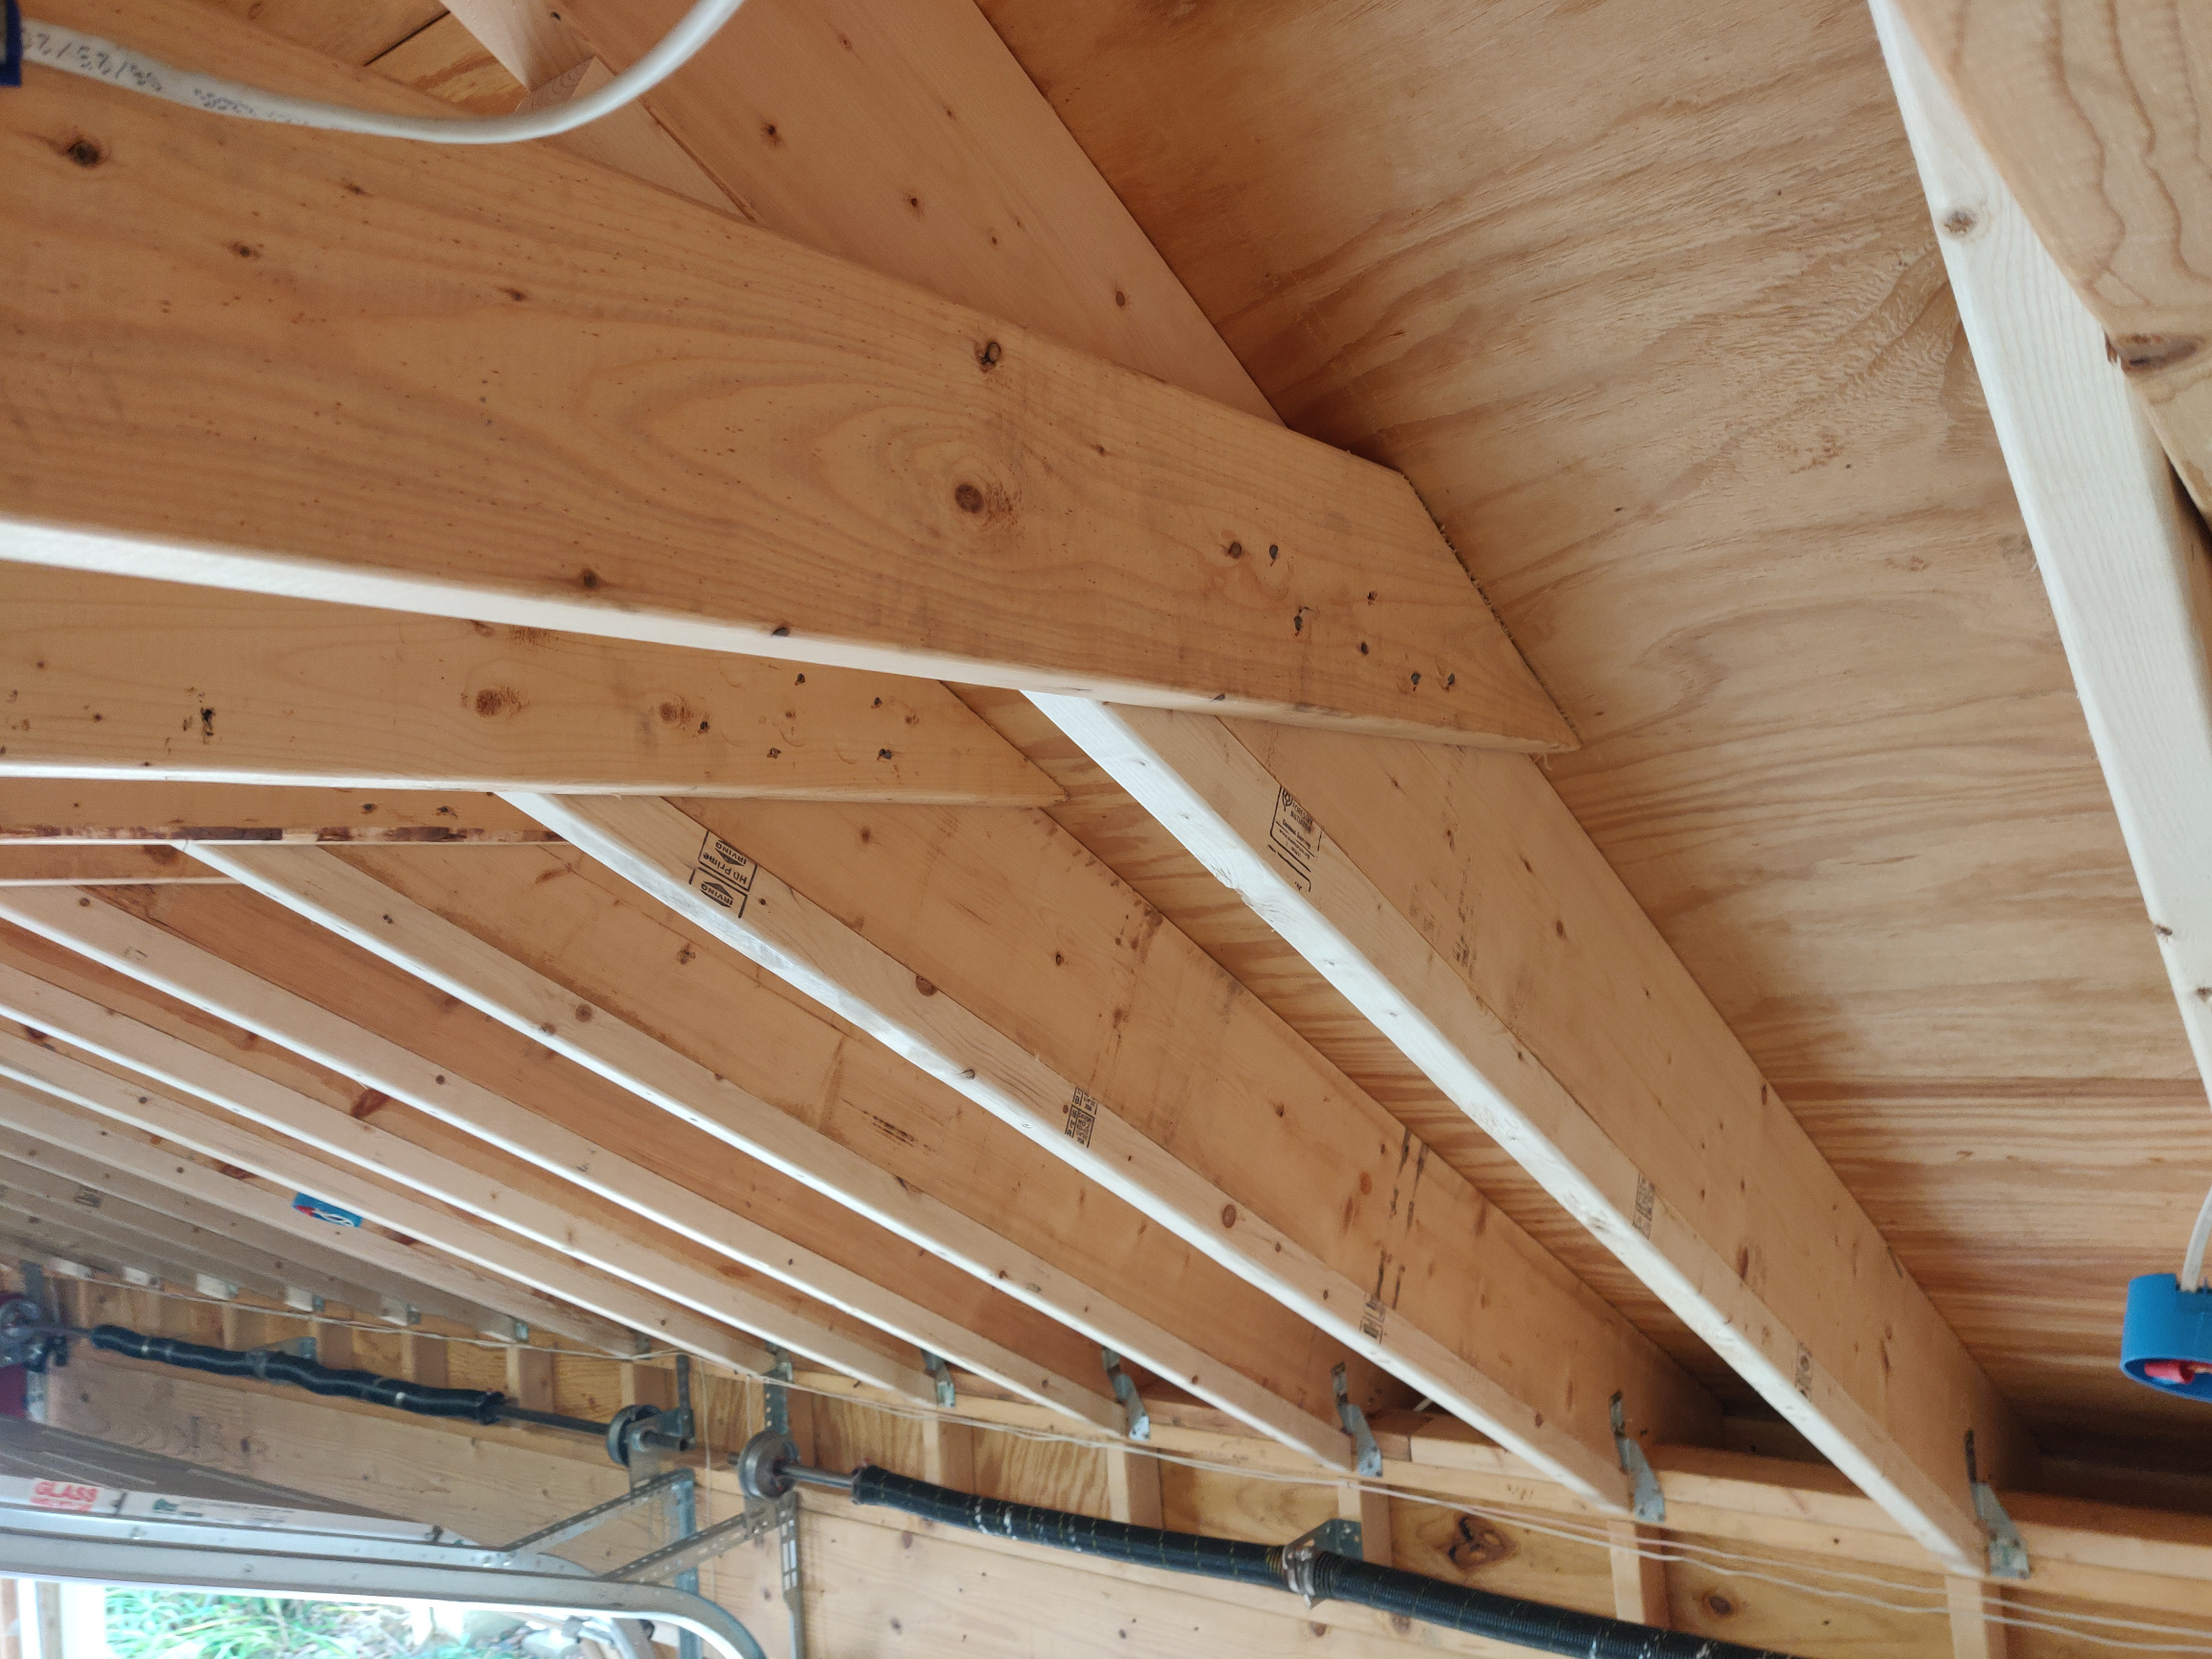
I considered thickening the 2×4 walls but the complexity and time involved especially for handling the window and door openings, seemed more than the added benefit that the additional thickness would provide. Although, I did have to address the upper part of the walls as the framing was done with the 2×4’s in a non standard orientation.

With this framing done but before I insulated, I also did some other things –
– I moved some of the electrical that i had an electrician install to where I actually wanted it installed. I also added some ceiling boxes for future lighting needs as well as a box for a future celling fan.
– I added some framing in the corners for future drywall screwing.
– I added a catwalk across the top side of the collar ties using some extra 1/2″ plywood I had around. It’s a little sketchy to crawl around up there as it flexes but the need for going up there is very minimal.
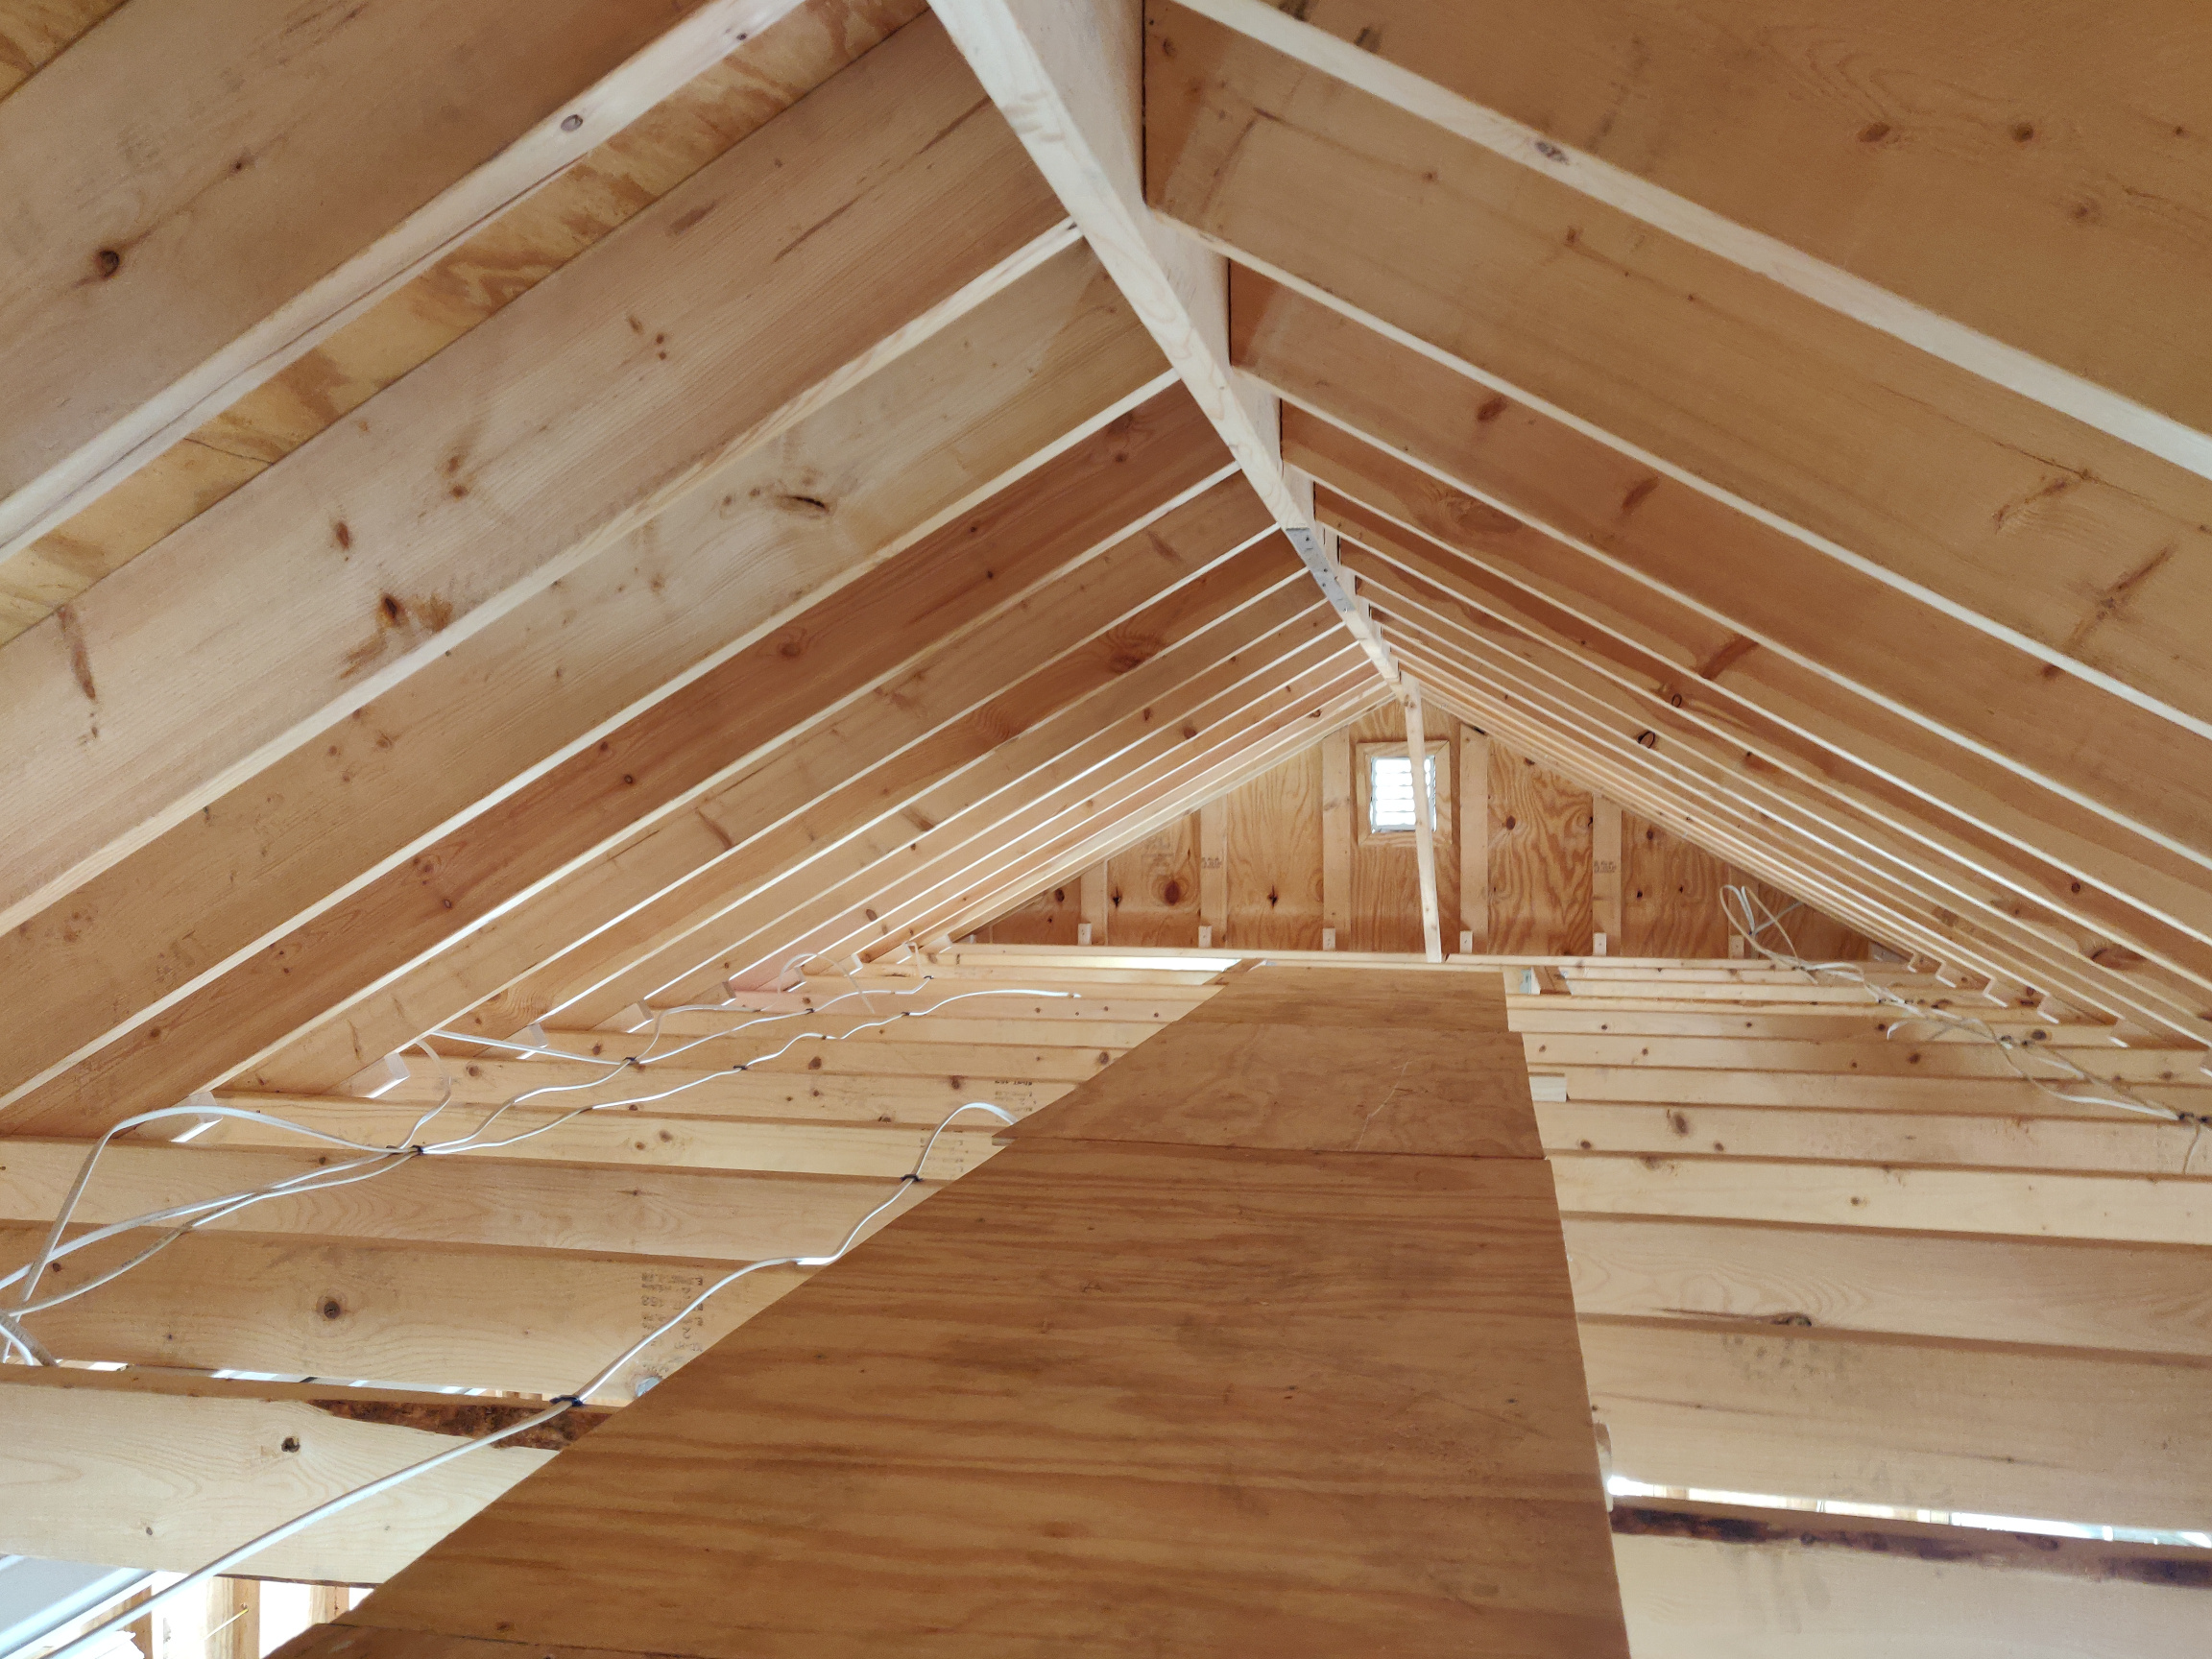
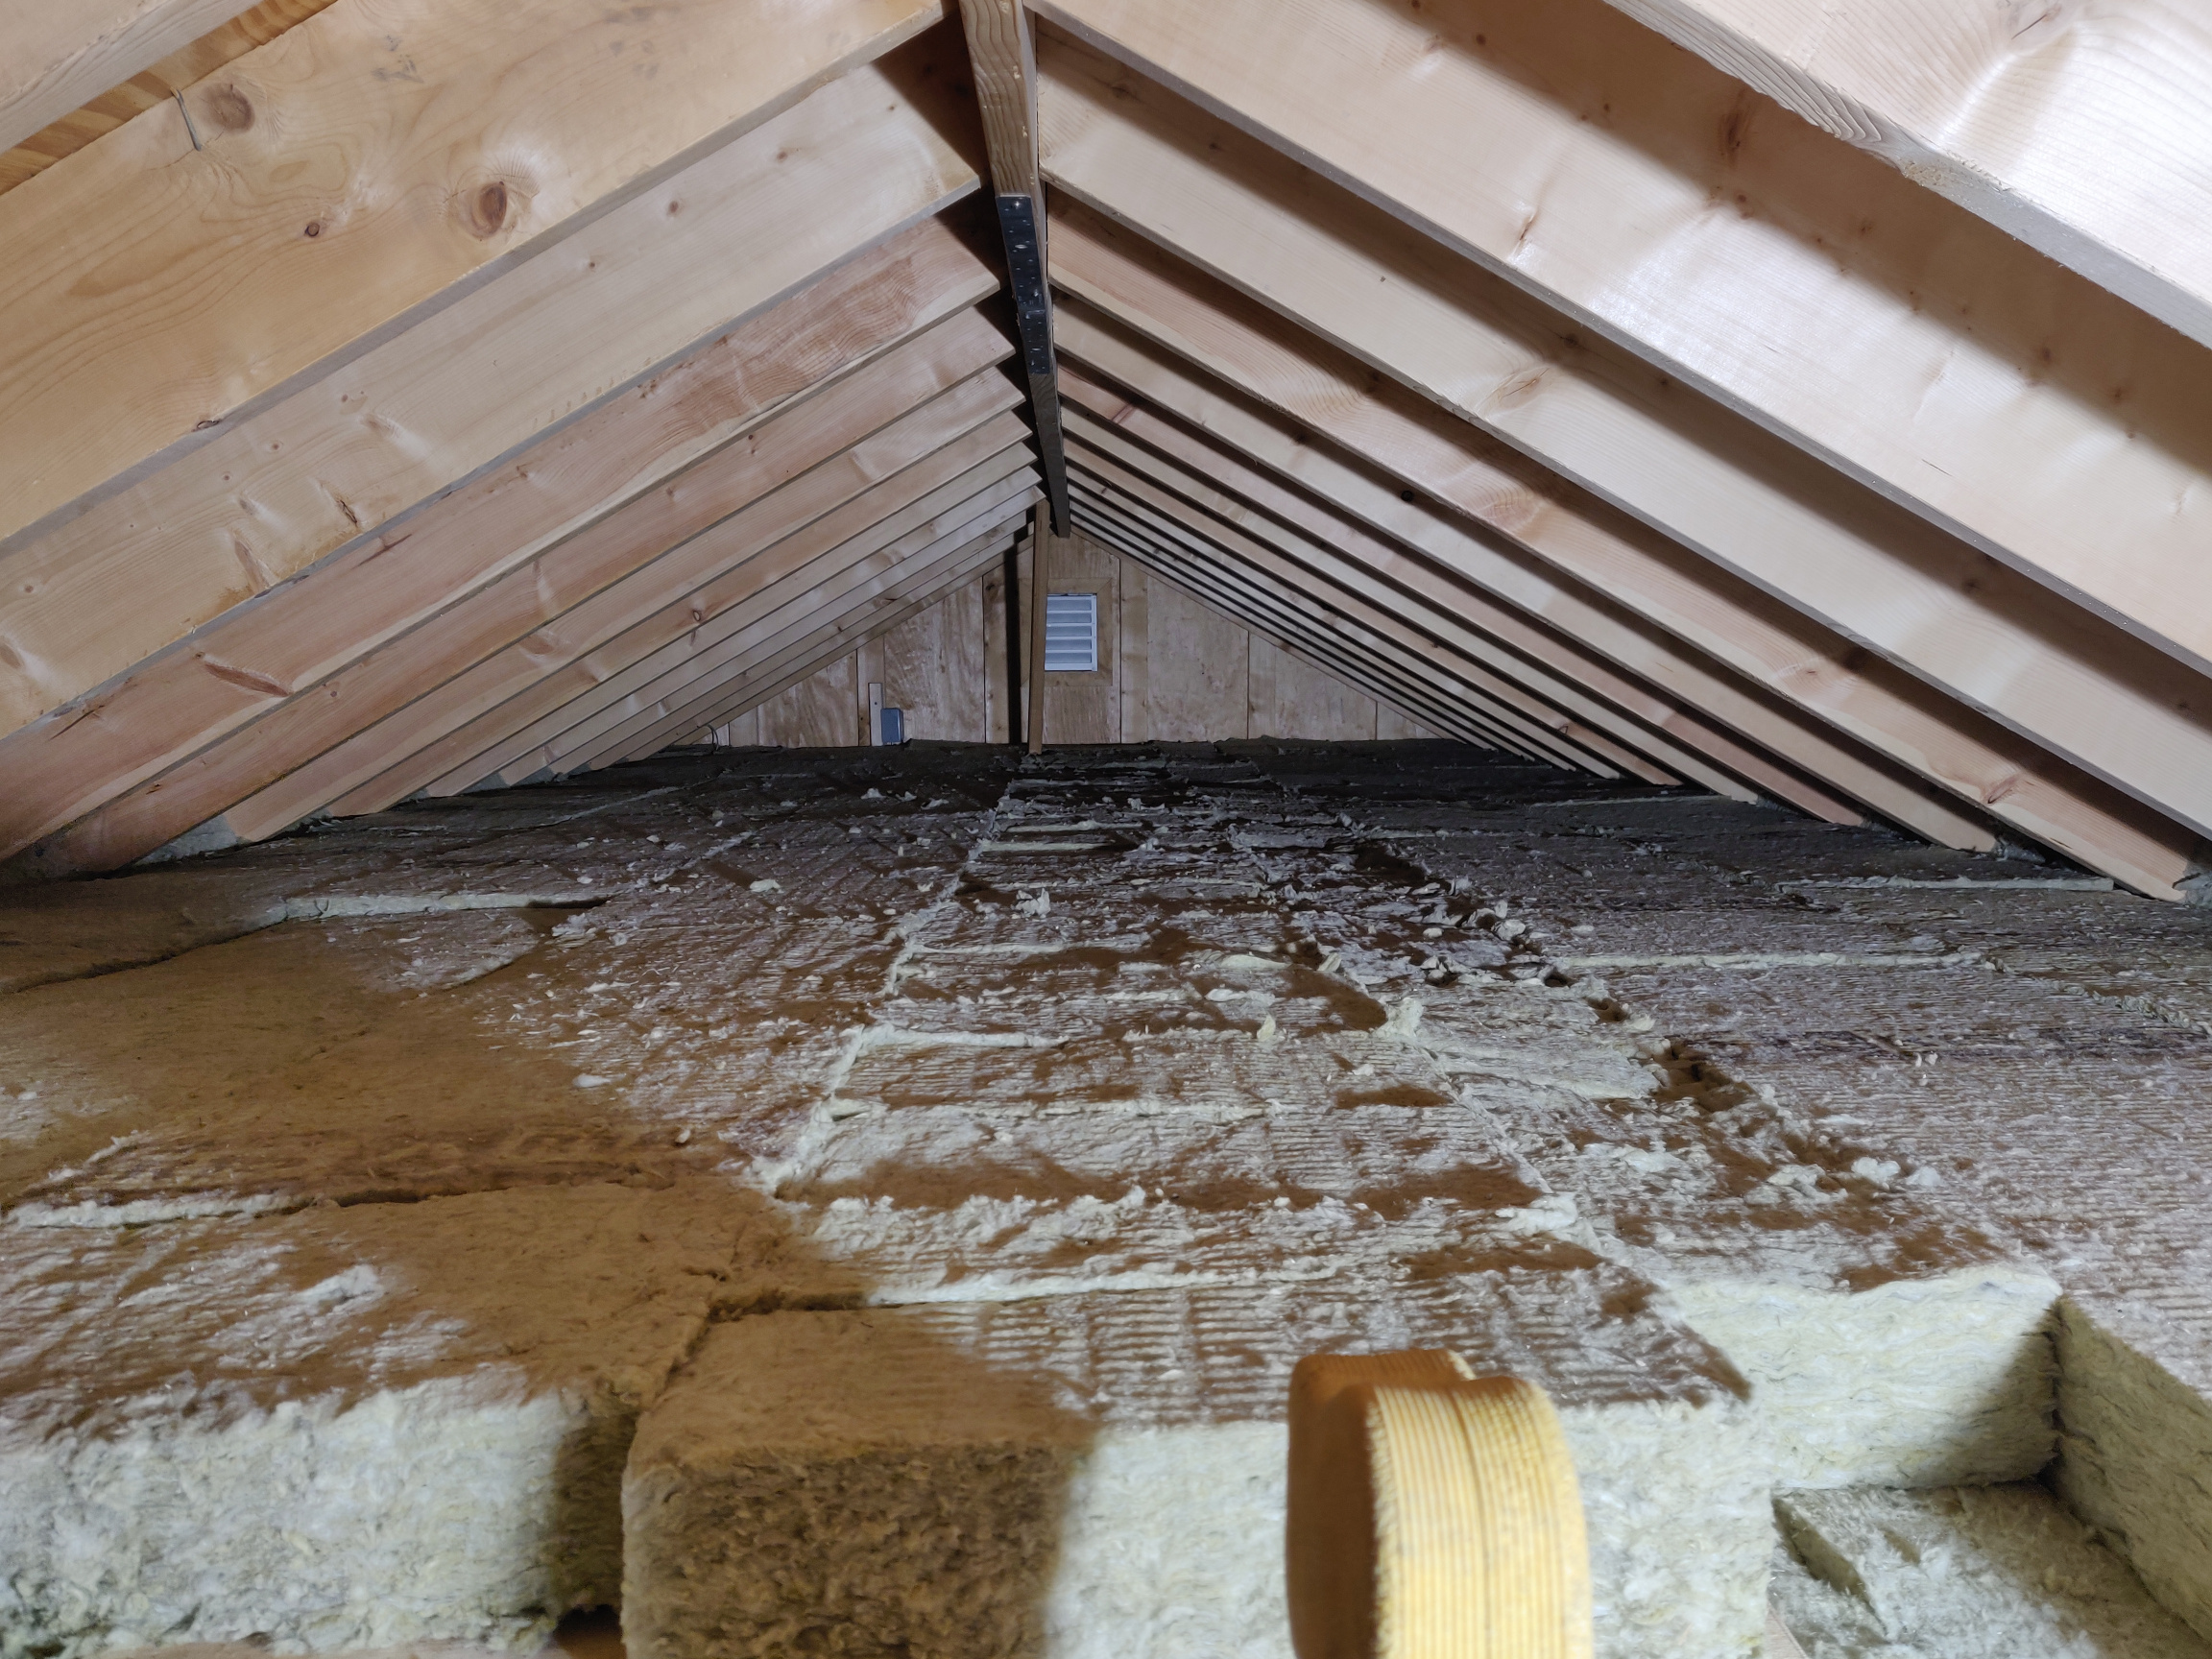
I framed an opening in the collar ties. Even though I have no use for the limited space in the attic, I figured it was pretty trivial to add this now rather than entirely sealing off the attic space. As it turned out, it was useful to have this access as I added more insulation from above after the ceiling was insulated.
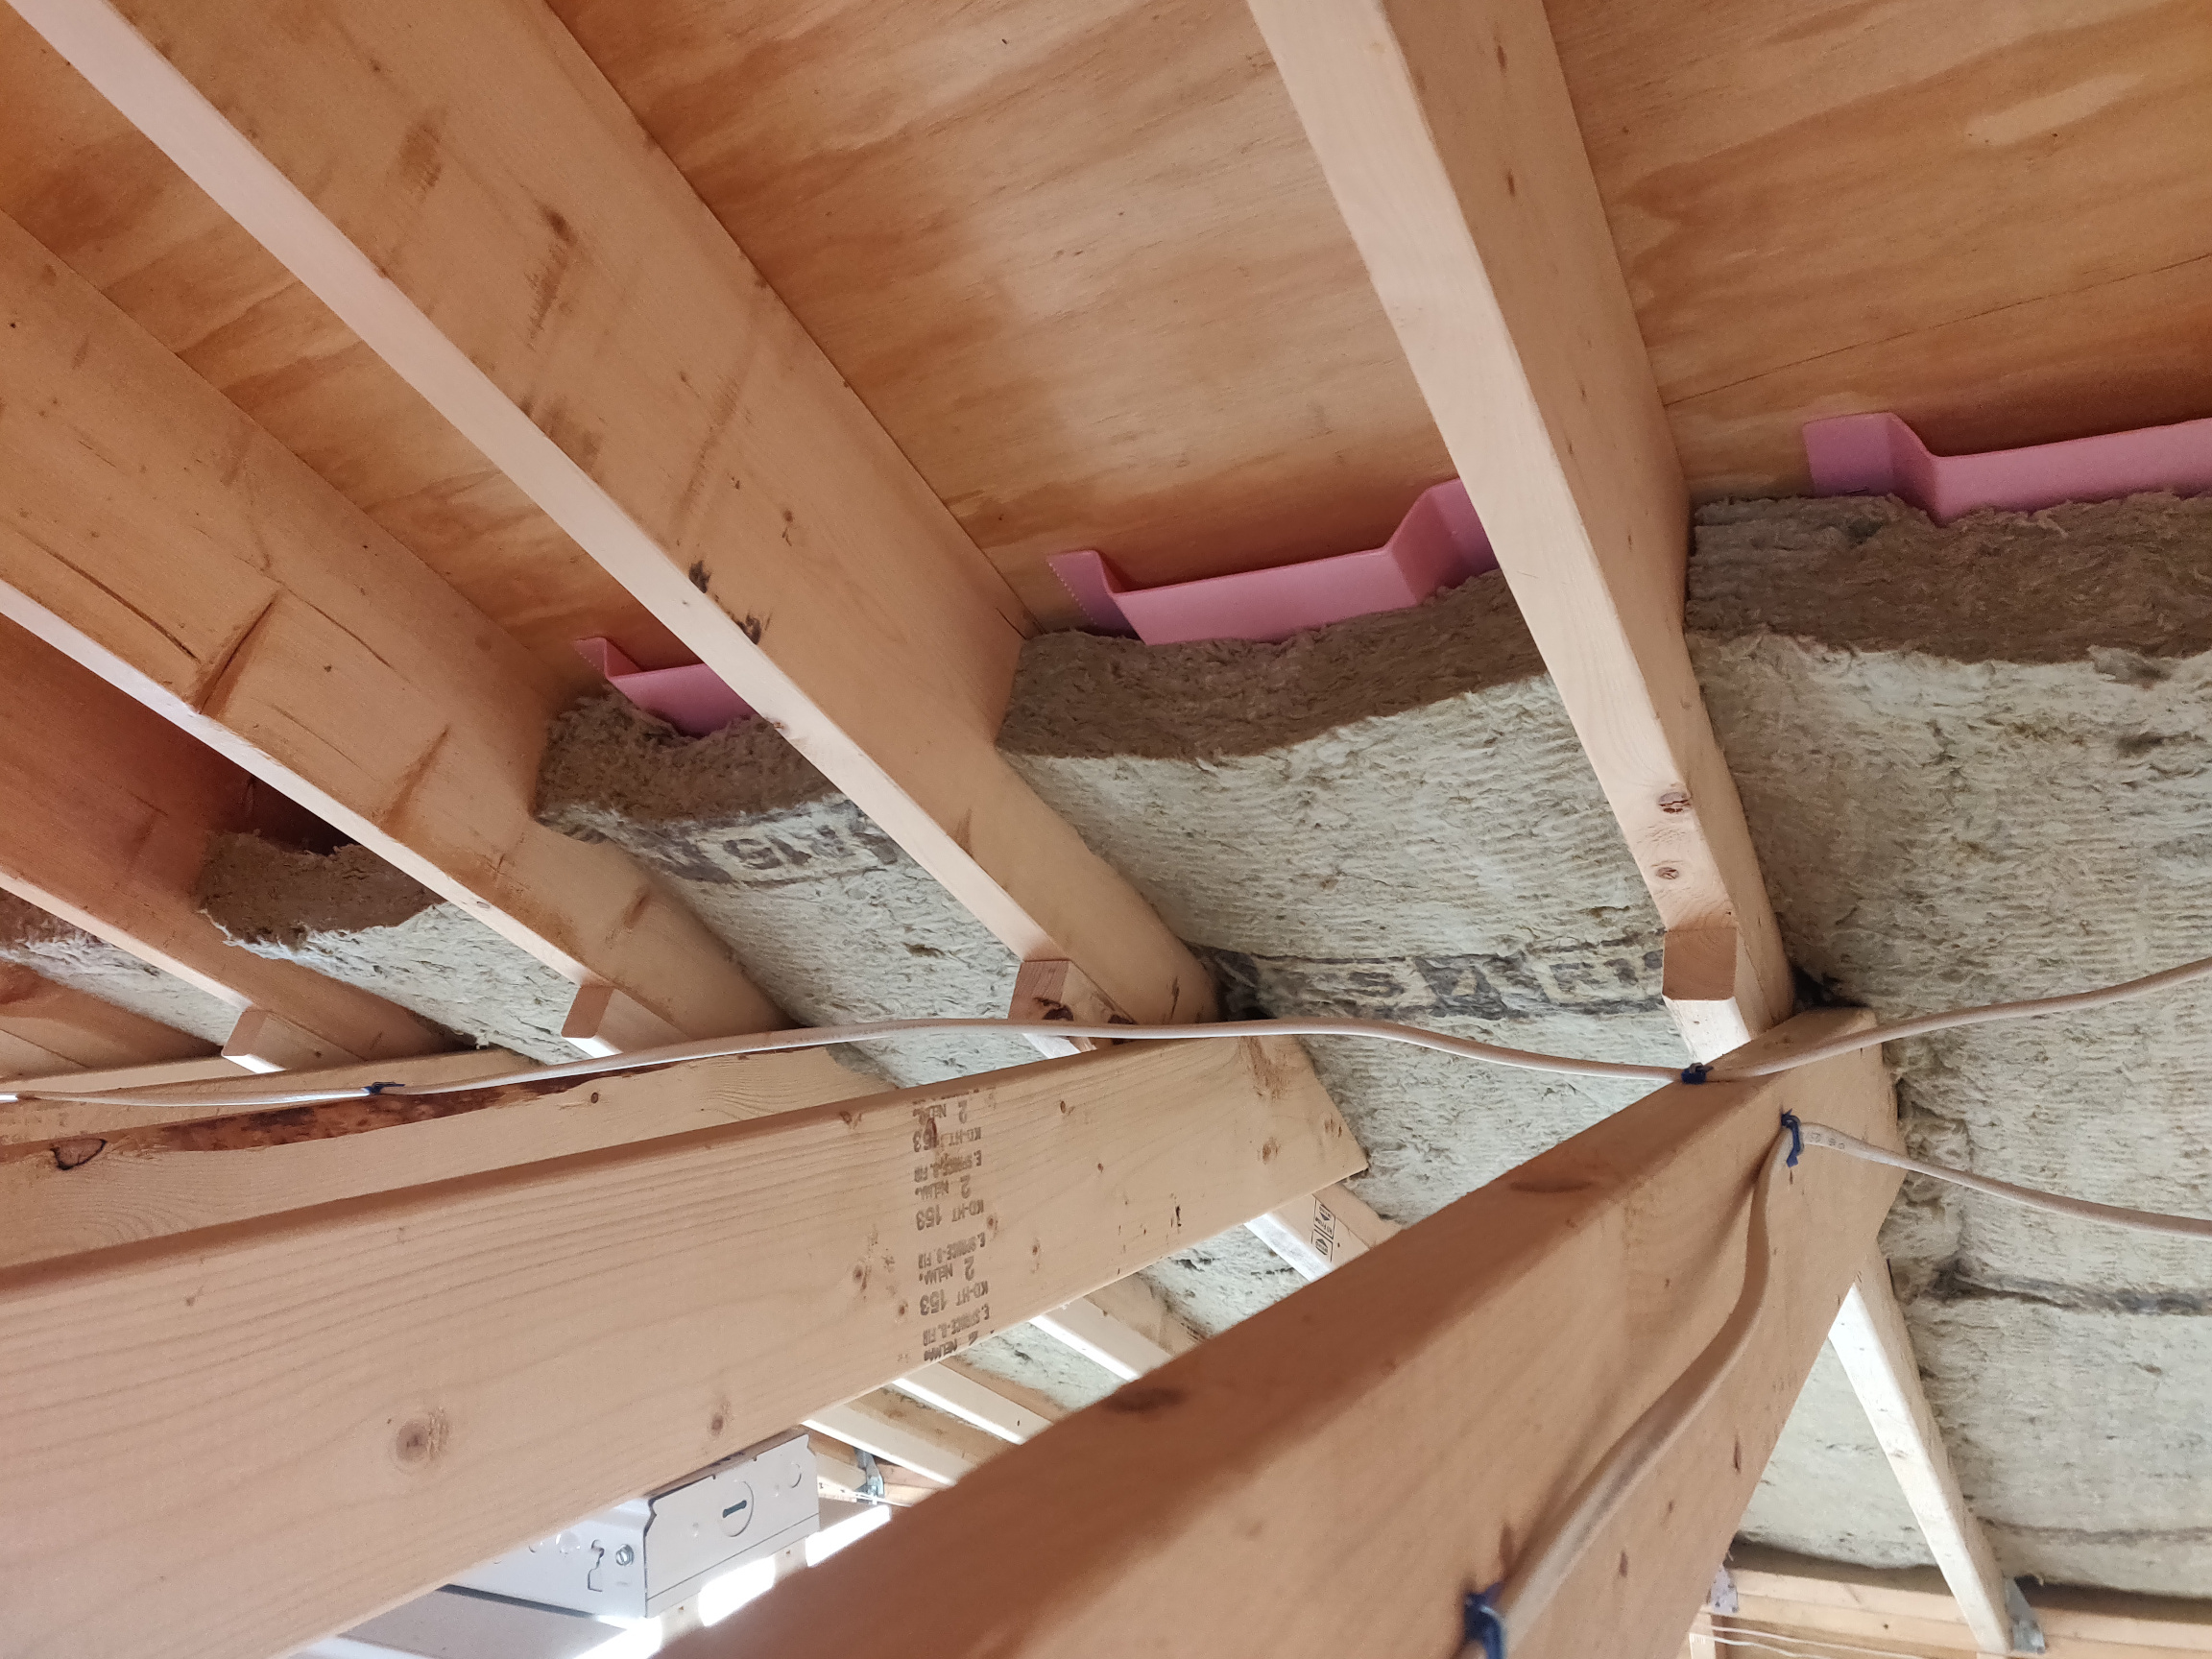
For insulation, I went with mineral wool rather than fiberglass. With it, I found that I could get a slightly higher R value for the same thickness. I had purchased a small amount of Rock Wool a few years ago and found it easier to work with than fiberglass in the ability to cut and shape it. Since that time, pricing of mineral wool has dropped to be the same as fiberglass. So, using it was a no brainer.
I started out with Owens Corning Thermafiber mineral wool. Handling it, even gently, resulted in it just starting to disintegrate and break apart. Working with a piece of it over my head resulted in my being covered with particles from it. I found that once it was in place, it was near impossible to remove it should you not get it exactly where you want it. It is just too brittle. Luckily I had just purchased one bundle to try it out. I would have returned it but since it came compressed in the bundle it was not possible to get it back into the bag so I just threw it out and took the loss.
I then switched back to using the Rock Wool brand. This was perfect. Much less fallout from handling it, and even the ability to remove a piece and reposition it if needed. I cut it with a handled hacksaw blade and was able to cut angles, electrical box cutouts and other cuts in order to fit tightly to the framing.
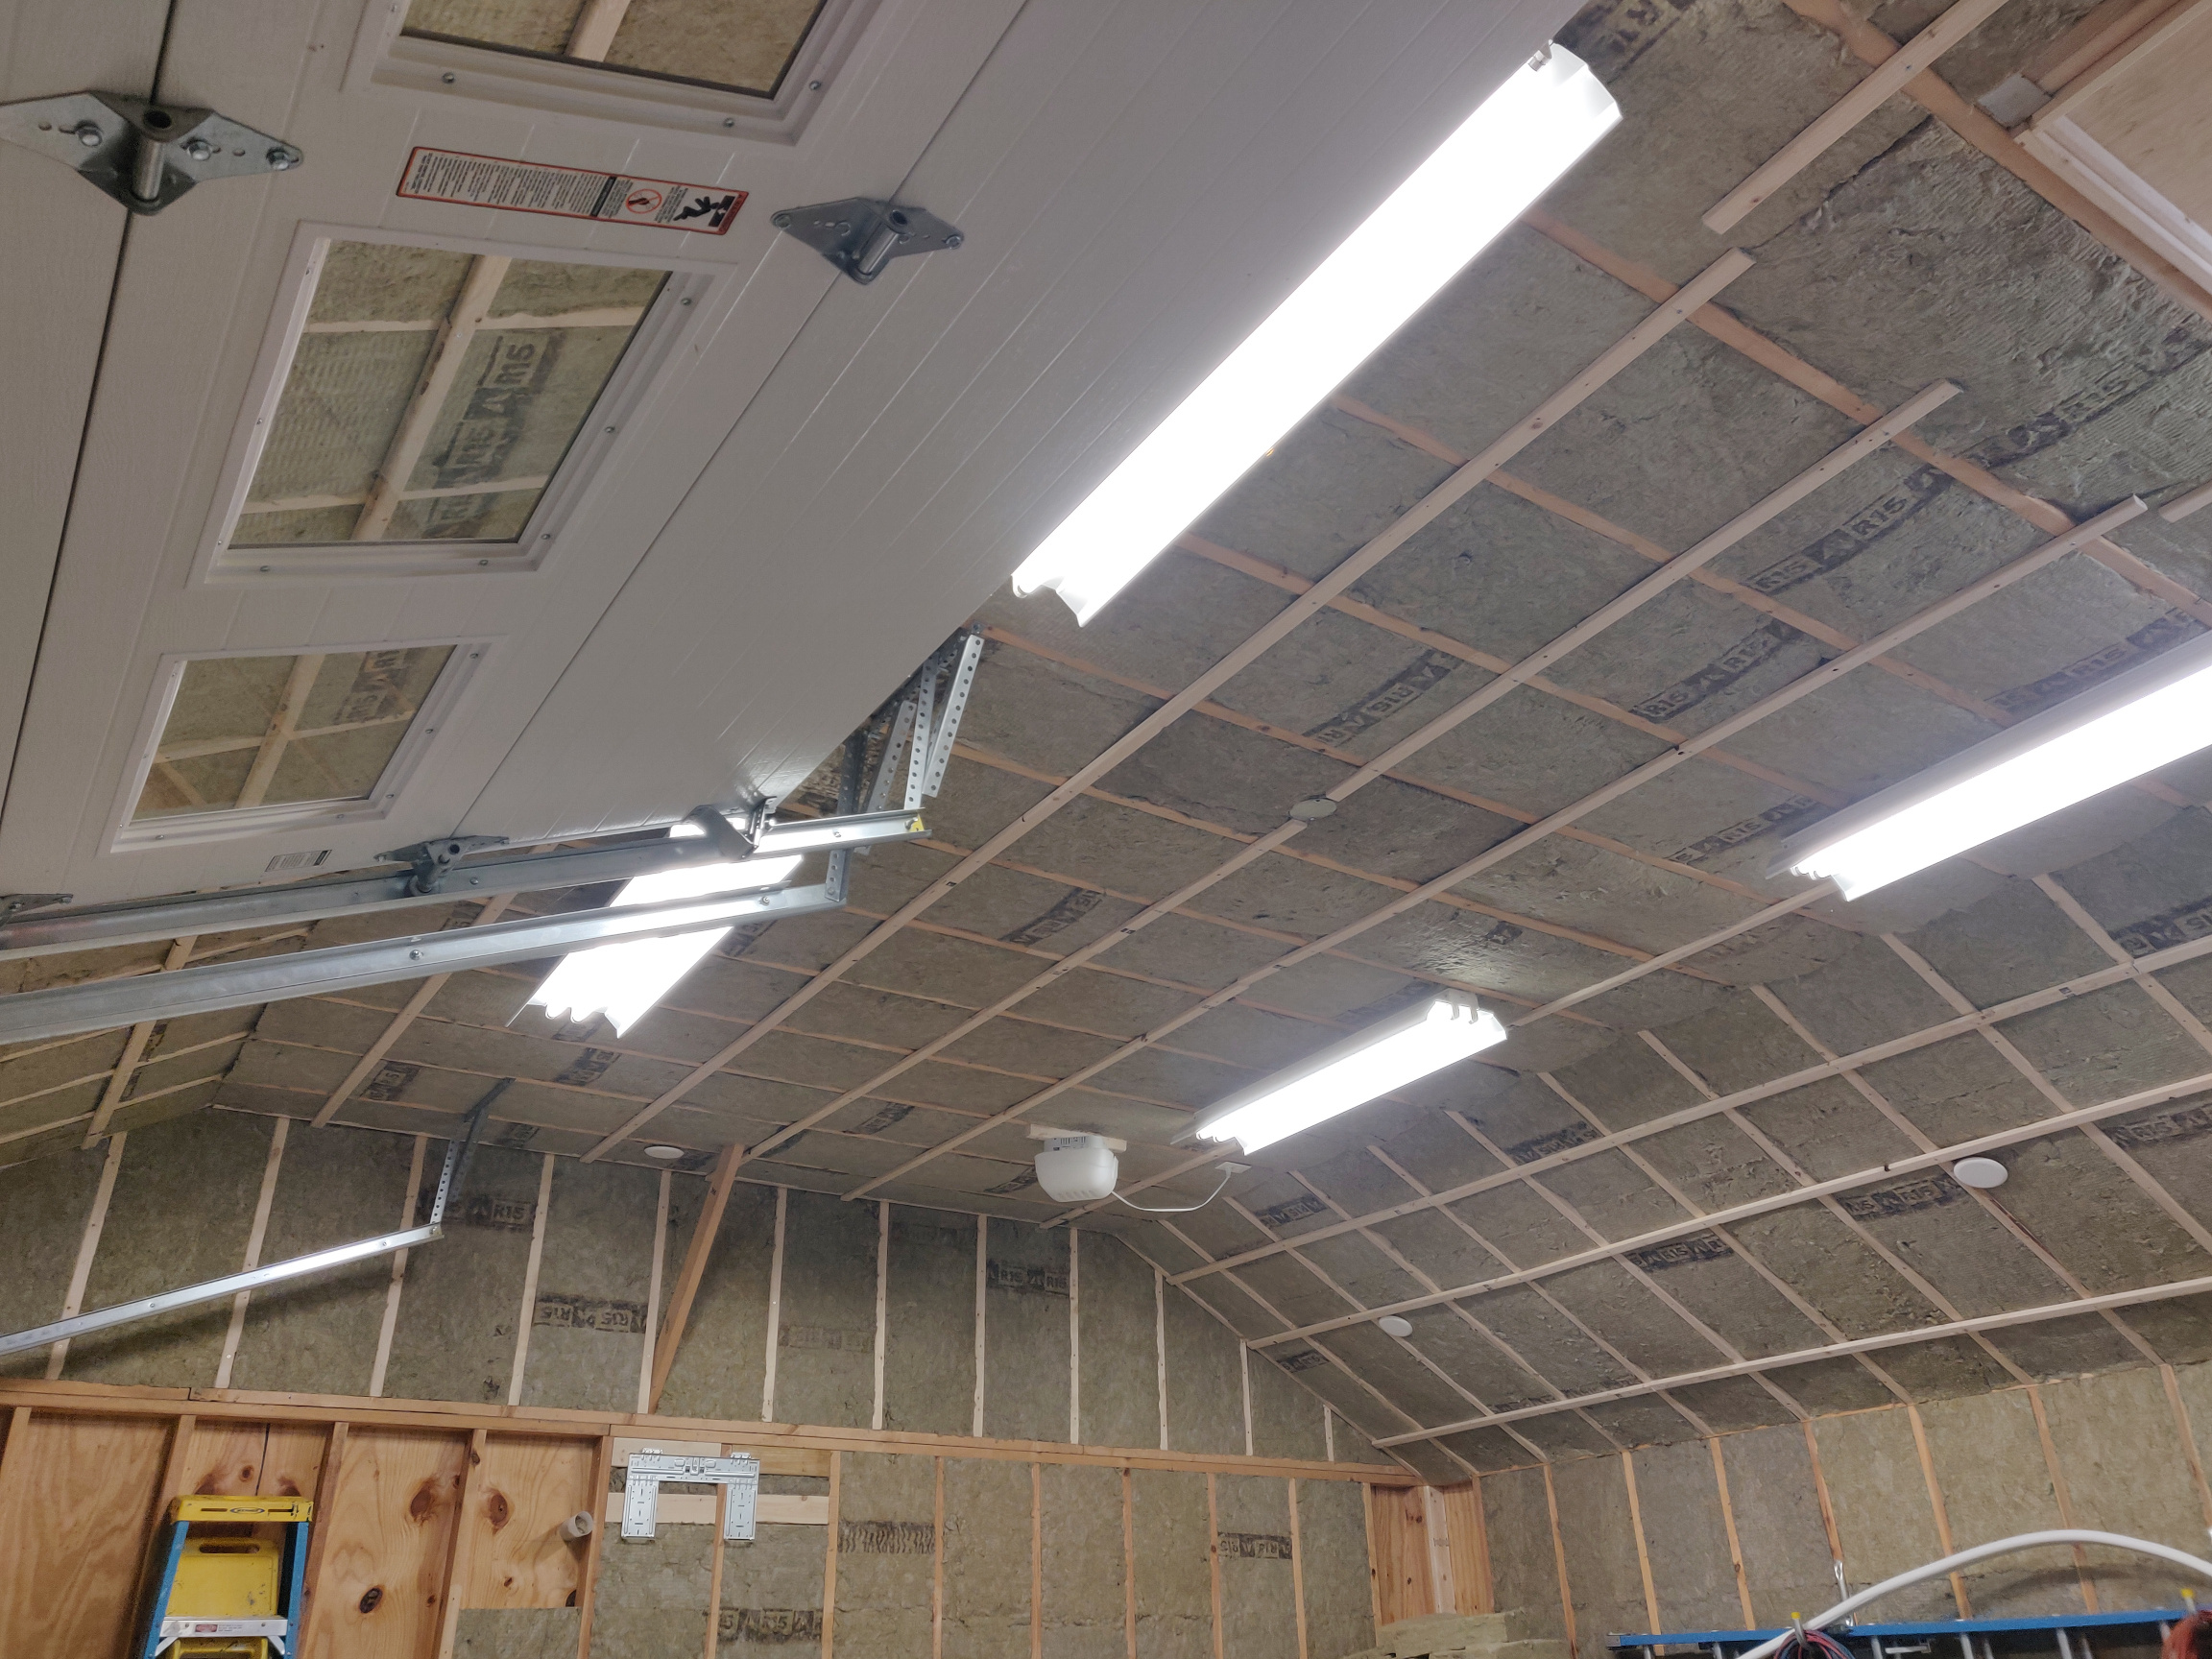
The angles of the ceiling presented a challenge and resulted in this project taking a lot longer than I ever had anticipated. Because drywall was possibly not in the plans for this phase, I installed furring strips across the rafters and collar ties to keep everything in place. While the insulation had a pretty good friction fit, it just added peace of mind that things will stay in place.
In terms of air flow, I used Owens Corning raft-r-mate vents. It was possibly overkill, but I added them in every bay. This required two pieces which I did not overlap but separated with a two inch gap. This was based on research that I did on these vents. I also learned that coated staples should be used but, since I couldn’t find them locally, I went with stainless steel.
Relative of the attic space, I was thankful for the access that I created for it as I was able to add another layer of insulation on top of what I installed between the collar ties. I also used some of the many extra cut off pieces I had to fill in the space over the catwalk.

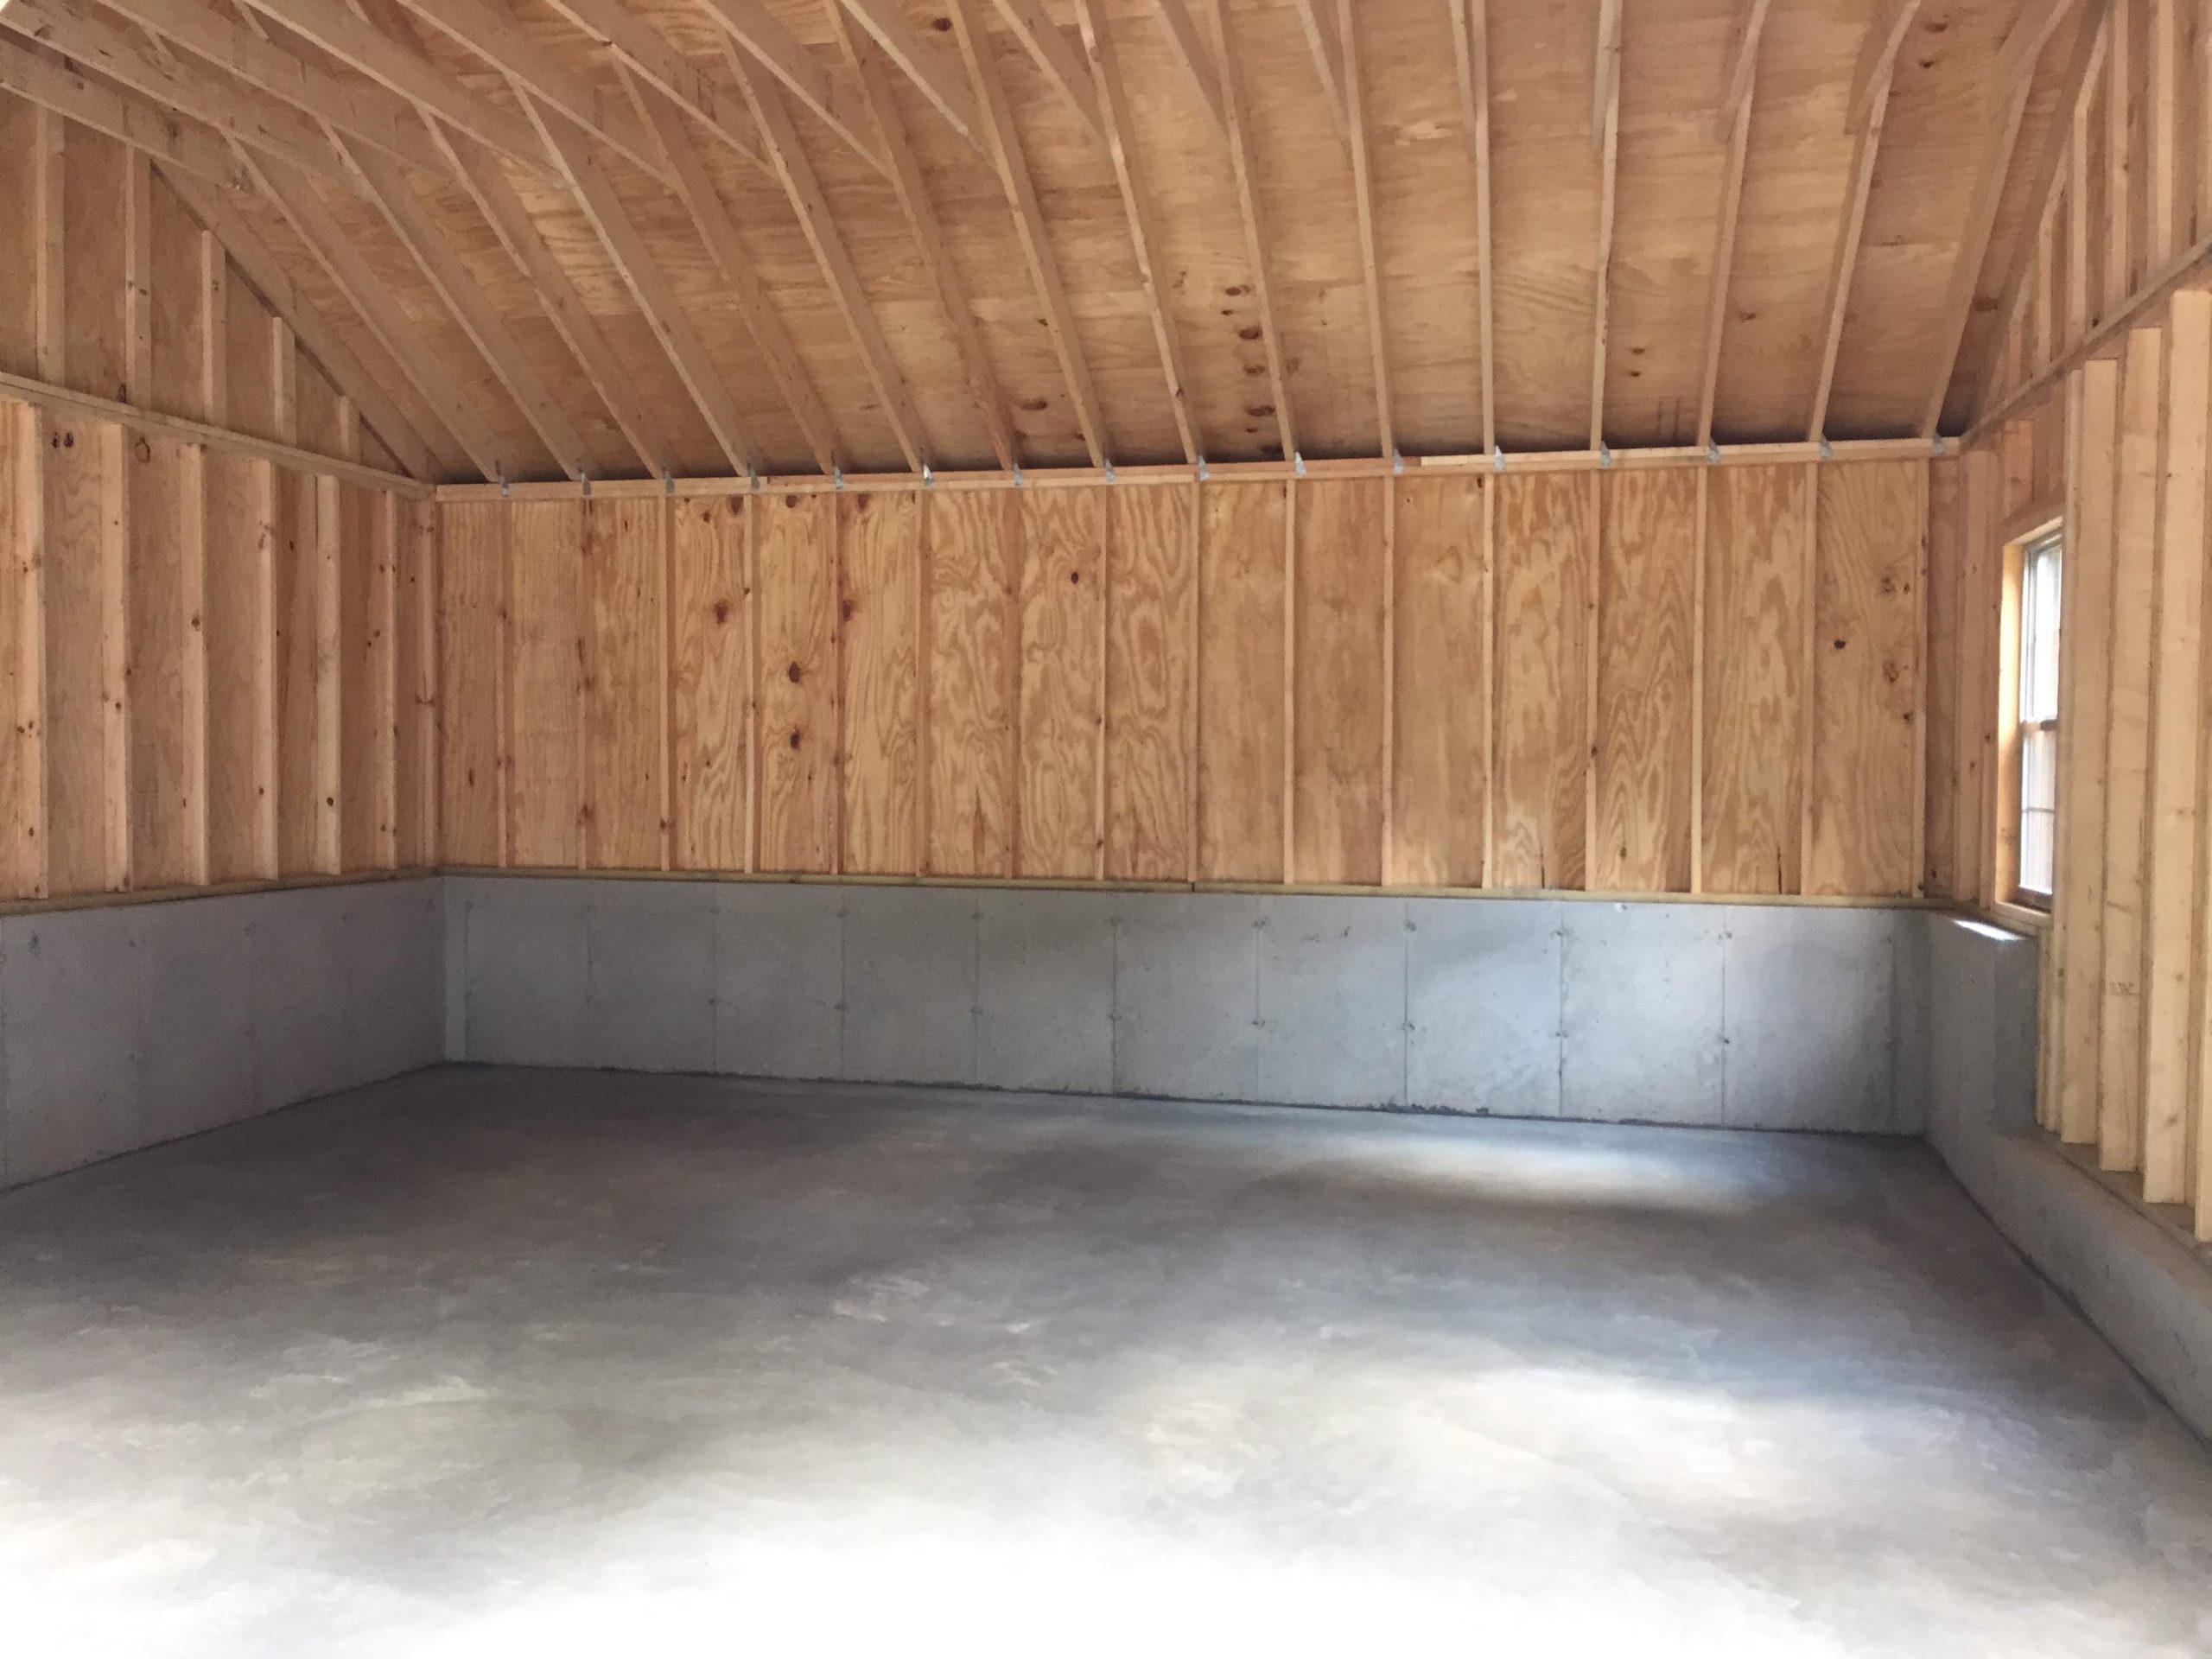
So, the end result is a pretty well insulated garage with the walls being R15, the sloped sections of the ceiling are R30 and the rest of the ceiling is R45.
Next up, adding heat!
What I used for this project –